1. Get Started

There are two ways to quickly setup the basic CamRig container and camera:

  • Use the prefab located in „CamRig“ > „Prefabs“
  • Use the options under „CamRig“ in the Unity main menu bar

The Prefab

The prefab contains a hierarchy of an empty gameobject („CamRig“) and a camera („Camera“).

If you drag the prefab into the scene view, you see that there’s the CamRig component attached to the camera gameobject in the hierarchy under the empty „CamRig“ gameobject:
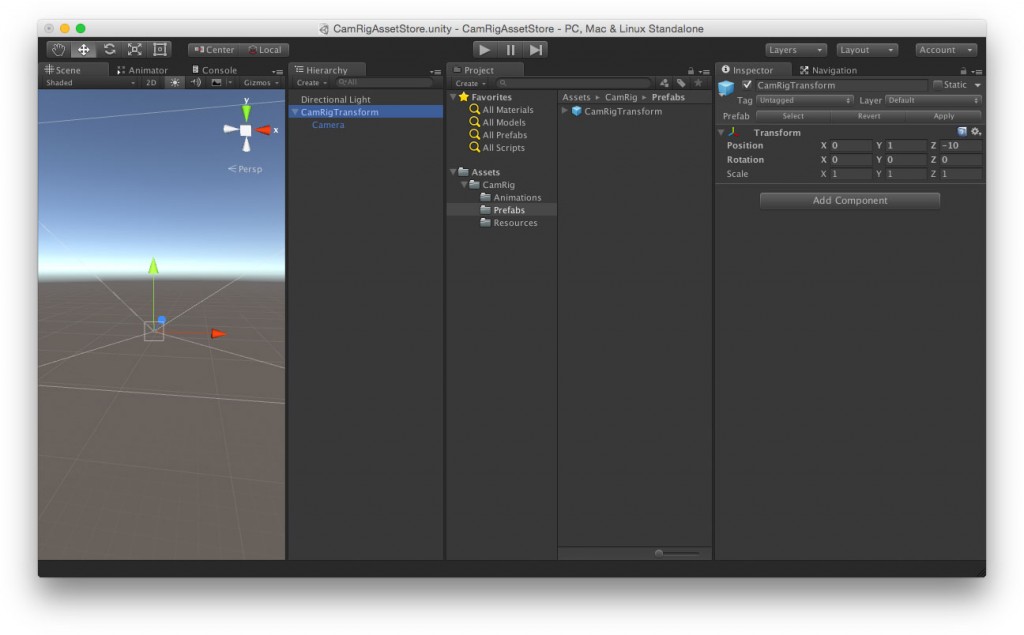
The Menu Options

The option under „GameObject“ > „CamRig“ in the main menu bar contains „Create Camera Rig from selected Gamepbject“ and „Create new Camera Rig“.

The second option will basically instantiate a new CamRig prefab.

The first object is only available if there’s a gameobject selected in the scene hierarchy. This will take the currently selected gameobject, add a CamRig component and an Animator component to it with the CamRig-Animator-Controller and parent its transform with an empty container.

Important Notes

To use CamRig together with smooth follow or other camera controlling script, always animate or control the CamRig container instead of the CamRig camera!

2. Base Animations

CamRig works with a set of base animations that were tracked from real-life camera footage. CamRig controls dynamically parameters like speed and amplitude of the animation to achieve a wide variety of different animation types.

The base animations are the following:

  • Idle
  • Walking Slow
  • Walking Normal
  • Walking Fast
  • Running
  • Sprint
  • Driving 1
  • Driving 2
  • Flight

Of course you can also use the different animation clips in your very own Unity animator controller.

3. Presets

The presets that come with CamRig allow you to quickly switch between animations in the playmode to check which preset or base animation fits best with your game. The presets can also be switched and transitioned between at runtime via the scripting API.

4. Custom Parameters

If you just want to use a base animation but control it’s parameters by yourself rather than with a preset, just select „Custom“ in the inspector dropdown of the CamRig component. Different fields will appear where you can choose the base animation and change speed, intensity and the „Animate Local Position“ property (see below for further info.

The „Speed“ property

This is simply the animation speed at which the base animation will be played.

The „Intensity“ property

This controls how much the animation will actually affect the movement of the camera or gameobject with the CamRig component attached.

„Animate Local Position“

As the base animation contains only local rotation data, this option will, if turned on, also affect the local position of the camera according to the base animation data. For example, this looks great for a camera that sprints through a cutscene.

„Animate Position Intensity“

This controls the intensity of „Animate Local Position“.

5. Scripting / API

If you want to control the cam rig via script rather than through the editor, you can use the following functions:


Set the base animation:

SetBaseAnimation (string animationName);

As animation name parameter you can use the following:

  • „Idle“
  • „WalkingSlow“
  • „WalkingNormal“
  • „WalkingFast“
  • „Running“
  • „Sprint“
  • „Driving_1“
  • „Driving_2“
  • „FlightNormal“
  • „FlightTurbulent“
  • „FlightFullThrottle“


Set the speed of the animation:

SetSpeed (float speed);


Set the intensity:

SetIntensity (float intensity);


Animate local position yes or no:

AnimateLocalPosition (bool trueOrFalse);


Set the intensity of the local position animation:

SetAnimateLocalPositionIntensity (float intensity);

Example:

using UnityEngine;
using System.Collections;

public class Example : MonoBehaviour {

    public CamRig camRig;
    
    void Start () {
        camRig.SetBaseAnimation ("Flight");
        camRig.SetSpeed (8.5f);
        camRig.SetIntensity (0.8f);
    }
}


You can also check the documentation.